Cacti From Seeds
Cacti From Seeds
Cacti From Seeds
A Clear Guide to Growing Cacti from Seeds
One of those peaceful, fulfilling hobbies that allows you to bring a little bit of the desert into your house is growing cactus from seeds. Seeing these intriguing plants grow from small seeds into thorny, sculpture-like plants is an amazing experience. And it’s not as difficult as you would imagine to produce cacti from seeds! All it takes is a little perseverance, careful attention to detail, and excitement. If you’re interested in giving it a go, here’s a step-by-step tutorial to get you going.
Why Plant Seeds for Cacti?
You may ask yourself why you should deal with seeds when you can just pick up a little cactus at the garden centre. The variety and experience hold the key to the solution. Growing cactus from seed allows you to experiment with a variety of species that aren’t usually available in stores. Try experimenting with different cacti’s sizes, shapes, and colours; some may even surprise you with unexpected blooms!
Growing from seeds also has the advantage of being somewhat more cost-effective, particularly if your goal is to amass a collection. More than anything, though, is the joy of seeing them develop from a tiny bit of dust into a mature, spiky beauty. The payoff is certainly worth the wait if you’re patient.
Starting Out: Essential Items
You should gather the following essentials before getting started:
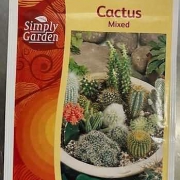
- Cactus seeds: specialised nurseries or the internet carry a wide assortment of cactus seeds. You can experiment with uncommon species or start with beginner-friendly varieties like Echinopsis or Mammillaria.
- Tiny pots or seed trays: Verify that the pots contain openings for drainage.
- Cactus potting mix: You can make your own by combining ordinary compost, sand, and perlite with garden centres to form a soil that drains properly.
- Plastic bag or clear cover—to maintain a high humidity level throughout germination.
- Small pebbles or fine grit—to aid in drainage and gently cover the seeds.
- Spray bottle: This is for light misting.
- Detailed Instructions for Growing Cacti from Seeds
1. Get the Seed Tray ready.
First, add cactus soil mix to your pots or seed tray. Cacti like soil that is well-draining and airy, so even while it should be level, avoid compacting it excessively. Here a delicate touch is ideal.
Sow the Seeds #### 2.
Because cactus seeds are so small, handling them should be done carefully. Just disperse the seeds uniformly over the soil’s surface. Avoid burying them too far down! In fact, because they require light to germinate, several types of cacti actually prefer to be kept uncovered. For others, just a very little dusting of fine grit or sand is sufficient.
3. Establish the Proper Setting
Because cacti prefer warm, humid environments, keeping the humidity in your seed tray can be achieved by covering it with a plastic bag or a clear plastic lid. The tray should be placed in bright, indirect light and in a warm area (around 20 to 25 °C). The young seeds are a little delicate at this point, so avoid placing them in full sunlight.
4. Watering
There are some differences between watering mature plants and cactus seeds. Use a spray bottle to lightly sprinkle the soil rather than completely submerge it. The surface should remain somewhat damp but not drenched. Make sure to often check the moisture content, particularly after the seeds begin to sprout.
5. Remain patient.
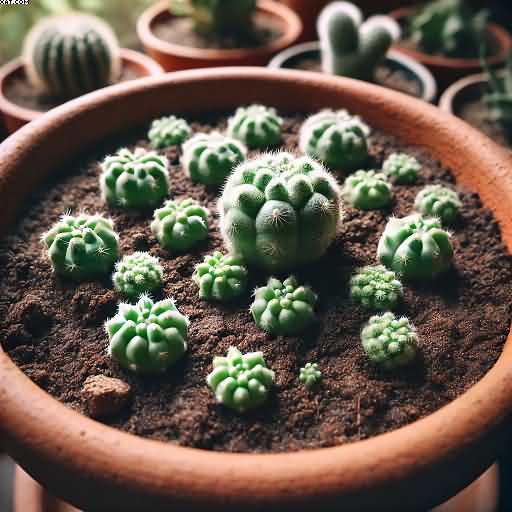
The waiting game is about to begin. While some cacti seeds sprout in a matter of weeks, others could take months. Tiny green sprouts will begin to poke their way through the ground. Avoid disturbing them too much and keep the atmosphere warm and damp.
6. After Germination
After emerging, it’s critical to progressively acclimatise the seedlings to drier conditions. By gradually increasing the exposure, you can achieve this by removing the plastic cover for a few hours each day. You can allow the soil to dry out a bit more in between mistings as the cactus get bigger.
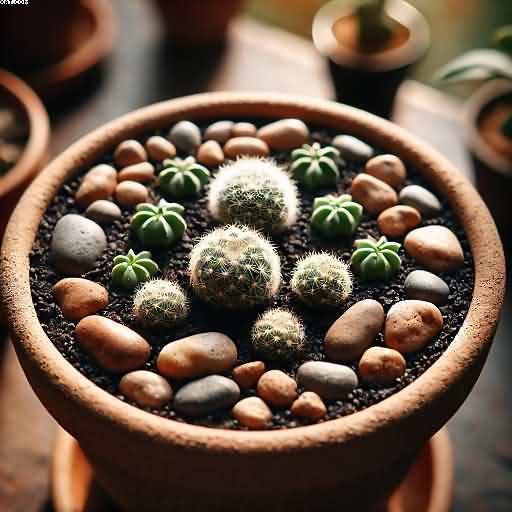
7. Transplanting
Since cacti grow slowly, it’s not advisable to repot them too quickly. When they are large enough to handle, which may take six months to a year, carefully move them into separate pots filled with new cactus soil. Because cactus don’t require much space to grow in their early years, make sure the pots are modest.
Success Suggestions
Light: The cactus will require an abundance of light once they are established. A bright windowsill is ideal, but keep young plants out of direct sunlight since it might scorch them.
Climatic temperature: Although cacti prefer warmth, once they reach maturity, they can tolerate rather chilly temperatures. When they’re little, try to provide a warm, steady environment for them.
Resilience: Recall that cactus growth is slow. Unless you’re the type of person who needs things done right away, cultivating cactus may need some patience. Still, there’s something charming about the slower growth!
Typical Traps to Avoid
- Overwatering: Among the most frequent errors is overwatering. Cacti require extremely little water, particularly in the winter when they are dormant. Rot and other issues might result from overwatering.
- Insufficient Lighting: Young seedlings require lots of light to flourish, even if they don’t require direct sunshine. Put them in a light area to ensure they are getting enough.
- Irritation: Avoid the need to move or disturb your cacti too soon. Since they grow slowly, it’s better to leave them alone during their formative years.
Final Reflections
One of the best ways to bring a little bit of the raw beauty of nature into your house is to grow cactus from seeds. Even while it could require some effort and time, the process is really fulfilling. Starting from seeds is a great approach to interacting with these fascinating plants, whether your goal is to cover your windowsills with spiky beauties or you just want to appreciate the process of developing something unique.
With the correct circumstances and a healthy amount of perseverance, you’ll soon have an impressive collection of flourishing cacti!