
Hydroponics and the Environment
Hydroponics and the Environment
Hydroponics and the Environment
So as my readers will know, I am relatively new to hydroponic gardening. I have since learned that hydroponics has advantages over growing in soil. Plants grown using the hydroponics method will probably grow around 50% faster than their soil-grown counterparts.
Of course, this will usually end up with better crop production. Including the extra supply of oxygen to the roots when using hydroponics as a growing medium.
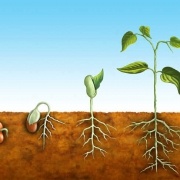
Better root systems will encourage more oxygen to enter the plants. As a result, they absorb nutrients more quickly. Because the plants are growing in water, they don’t have to spend time in the soil looking for the nutrients they require to grow correctly.
Those nutrients are being delivered to the plant throughout the day. Finding and breaking down food requires very little energy for the hydroponic plant. The plant then uses this saved energy to grow faster and to produce more fruit.
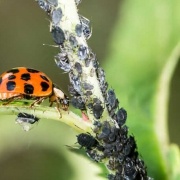
Less bug infestations
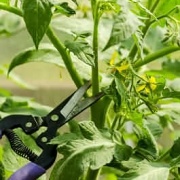
Another advantage that plants have when grown using hydroponics is that they are less likely to have infestations of fungus and plant disease. Of course, this must be combined with cleanliness and general garden hygiene!
Soil gardening, believe it or not, uses much more water than hydroponics. thus offering many benefits to the environmentally friendly Gardner. Starting with top soil erosion, it does not exist in hydroponics.
Including the use of peat as a growing medium. Peat, as we all know, will be phased out in the near future with coco-husk taking over. Hydroponics uses a constant amount of nutrients, therefore using less water. Brown mosses, Sphagnums, sedges, and semi-aquatic plants’ skeletal remains are among the partially decomposed organic materials that make up peat moss.
Although peatlands can be found all over the world. They are more prevalent in the Northern Hemisphere’s temperate, boreal, and subarctic regions. Here in West Yorkshire there is abundant peat ln wetlands like bogs, fens, mires, and especially on the moors, where peat builds up. Vegetation that is submerged beneath the water decomposes in anaerobic – or airless – conditions that cause the process to go slowly.
However, Like peat moss, coconut coir has many applications. It can store a lot of water with ease. Although certain plants could prefer soil that is a little bit more acidic or a little bit more alkaline, it has a pH level of 6.0, which is near to ideal for most garden plants.
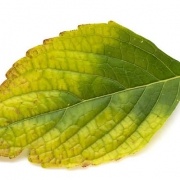
The texture of peat moss is soft and spongy.
It has an amazing capacity to retain moisture and air . While enabling extra water to drain without restriction. It’s often devoid of diseases and pests. And the price is reasonable.
Peat moss has been utilised as a soil improver, in soilless mixtures, and as a seed starting medium since the 1940s. Peat is a common ingredient in triple mixes and commercial potting soil.
It creates the ideal climate for developing robust root systems, which is why gardeners adore it.
As much as we enjoy utilising peat moss in our gardens, doing so has a significant negative impact on the ecosystem. It belongs in the peatland, where it should remain for very good reasons.
Another advantage is that there are fewer pests, and therefore fewer pesticides are used (once again, this must be combined with cleanliness and general garden hygiene). Hydroponics on large scales will be the norm in the future. The future is already here, looking at the size of the giant glasshouses you can see dotting Europe and North America. Global warming is expected to become the major cause of soil erosion in parts of the world. turning fertile areas into deserts.
Glass houses the size of large towns will become the stuff of science fiction.
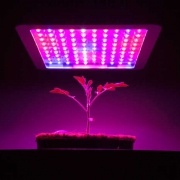
Growers now have complete control over the amount of water and nutrients used for growing huge crops. Even in warmer climates such as Spain, hydroponics plays some sort of role in controlling water usage.
The purpose of a growing medium is to aerate and support the root system of the plant and to channel the water and nutrients. It will be interesting to see how things pan out going forward. However, we have still made great strides in developing our growing methods for whatever crops we decide to grow. A Good Look at Hydroponics and the Environment by Eric Roberts